This process is designed to be intuitive and user-friendly, allowing anyone, regardless of their familiarity with computers, to use the product confidently.
CLOSE (Unassign) the Mailbox:
1. Open the BizBoxCenter web application on your device.
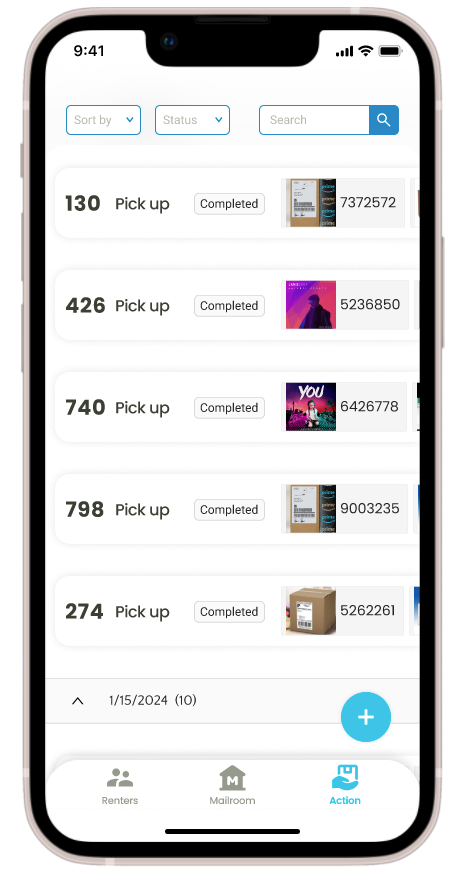
2. Tap ‘Action‘ at the bottom of your screen to start.
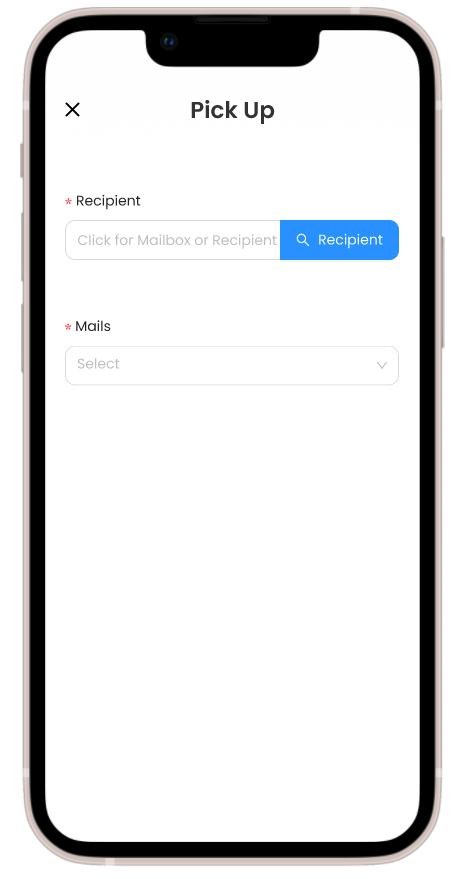
3. Press the ‘+‘ button to create pickup action.
(Step 1) Identify the Recipient: Select the renter by name or by mailbox number.
(Step 2) Select Items for Pickup: The renter’s associated mail and package items will be displayed. Check these items against the actual packages to confirm they are correct.
(Step 3) Secure Confirmation: Once you’ve verified that the items (packages/mails) match the list.
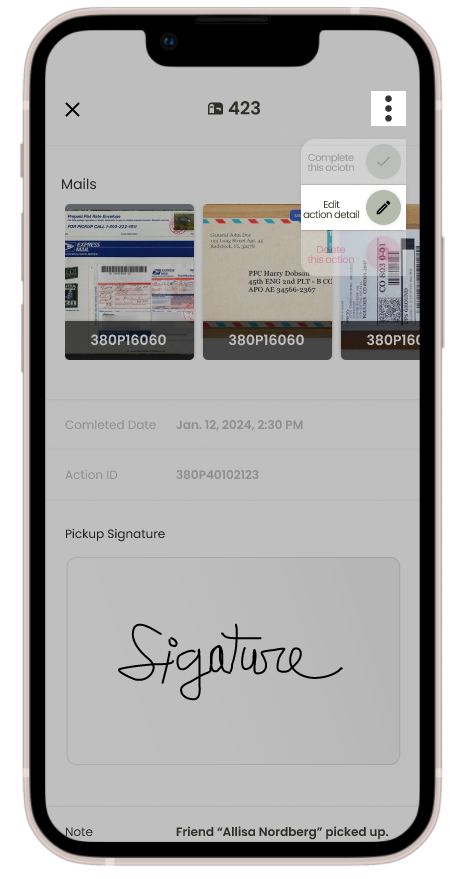
(Step 4) Get a signature from the renter.
(Step 5) Note Special Instructions: If there are any notes the mail center needs to record, write them down in the “center note” section. Otherwise, you can move on to completing the action.
(Step 6) Finalize the Pickup: Click the ‘Complete‘ button to finish the pickup process.
Additional Information:
Viewing the Pickup List:
All completed pickup actions are listed on the ‘Action’ page for easy access and reference by the mail center staff.
Editing Entries:
If you need to make changes, simply click the ‘Edit’ option, which you’ll find under the more icon (three dots) on the relevant pickup action detail page. Please note that some details like the pickup date, time, and signature are not editable to ensure the integrity of the pickup records.